
I have configured one of my servers as Open connect VPN and WordPress Server. The server shares port 443 for Apache and Openconnect using HAproxy. I had to migrate the services to a new VM therefore I had to build the setup from scratch. To save time in future, I have automated the steps to configure the server using Ansible.
The code assumes that:
- You have a server with a public IP address.
- You have root access to the instance.
- You have added A-records for your VPN domain and WordPress domains and mapped those to the public IP of the instance.
Step 1: Install Git and Epel repository
Login to the server and switch to root.
su -
yum install git epel-release -y
Step 2: Install Ansible
Install Ansible package from EPEL repository.
yum install ansible -yStep 3: Clone the Repository
Clone the repository.
git clone https://github.com/induslevel/server-setup-via-ansible.gitStep 4: Update Variables
There are few variables defined in the vars/common_vars.yml that you will need to update according to your setup.
The repository has default values for secrets which are set to 'your_secure_password_here' and vault password is set to 'your_vault_password'. You will need to setup your own secret values and vault password.
The following commands will overwrite existing encrypted values with new ones.
cd server-setup-via-ansible
echo 'your_vault_password' > ~/.vault_pass.txt
chmod 600 ~/.vault_pass.txt
echo "---" > vars/secrets.yml # Add header to the file
ansible-vault encrypt_string 'your_secure_password_here' --name 'static_db_password' --vault-password-file ~/.vault_pass.txt >> vars/secrets.yml
echo "" >> vars/secrets.yml # Adding line
echo "" >> vars/secrets.yml # Adding line
ansible-vault encrypt_string 'your_secure_password_here' --name 'vpn_user_password' --vault-password-file ~/.vault_pass.txt >> vars/secrets.yml
echo "" >> vars/secrets.yml # Adding line
cat vars/secrets.yml
Step 5: Update the Domain Names
Update the domain names in the configuration:
# Domain that will be used to connect to VPN. Add single domain here
haproxy_vpn_domains:
  - eu-vpn.induslevel.com

# Domains that will be used for WordPress websites. Multiple domains can be added
haproxy_wordpress_domains:
  - webserver.induslevel.com
  - webserver2.induslevel.com

# Let's Encrypt email address where you will get notification for cert expiry
letsencrypt_email: [[email protected]](https://induslevel.com/cdn-cgi/l/email-protection)

# Certbot dry run mode (set to true for dry run, false for production)
certbot_dry_run: false # Change to false for production

# Get test certificate
# Change value to false if you want to run for production setup.
# Keep in mind there are limits for getting certificates so use staging option during testing
certbot_staging_cert: true

# IPs will be assigned to VPN clients from this subnet.
vpn_ipv4_network: "192.168.250.0/24" # Replace this with the desired subnet that is not being used in your existing network
Step 6: Run the Playbook
Run the playbook to deploy the setup:
ansible-playbook --vault-password-file ~/.vault_pass.txt playbooks/site.ymlFinal Step: Check the Website
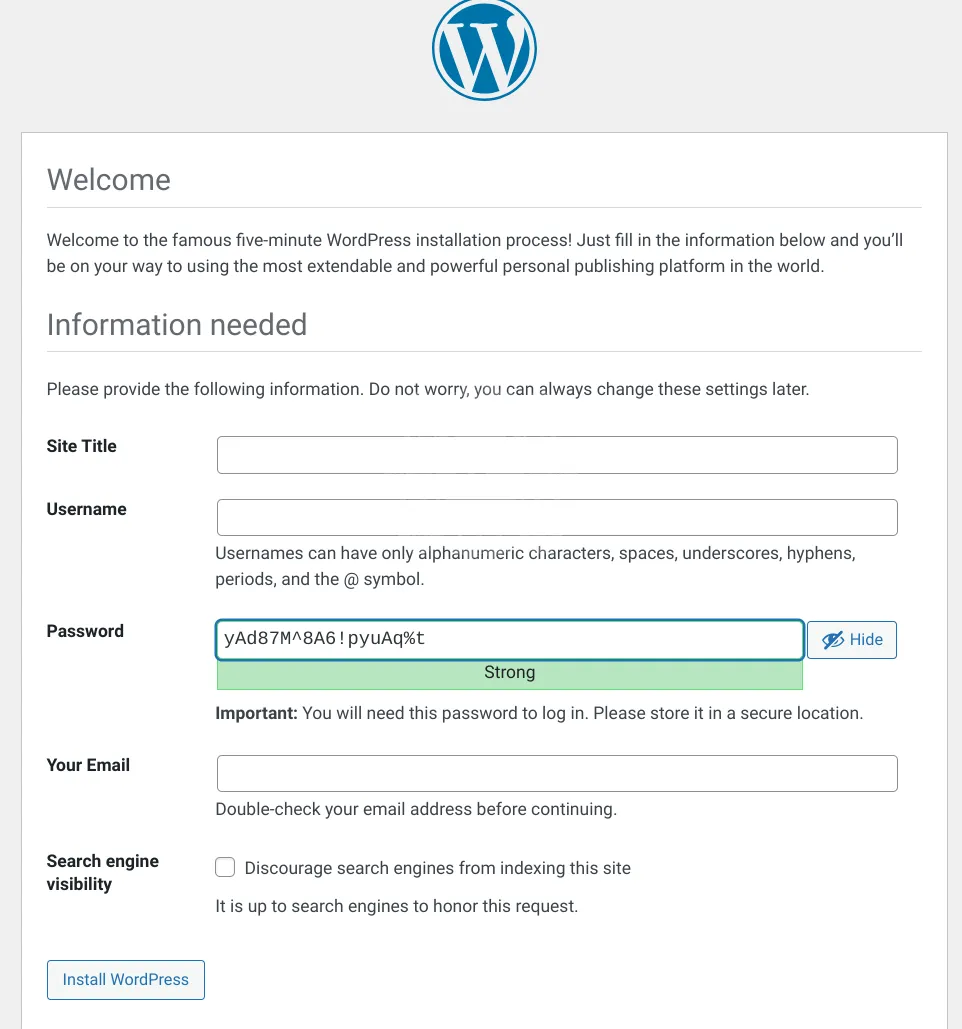
At this stage, you will be able to access the WordPress website.
Following this guide to connect to VPN Server.


